実際にどう使うかはまったくイメージしていないものですが、
jQueryでの3D的表現を試みている「jQuery faux-3D Viewport」が
ちょっとおもしろかったのでご紹介。
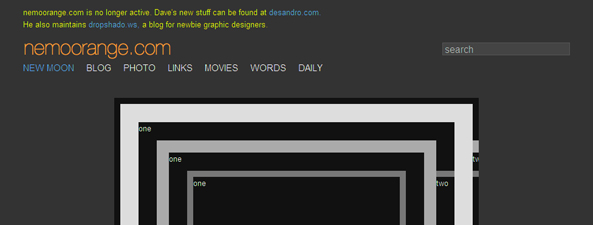
≫nemoorange.com: jQuery faux-3D Viewport
大中小の枠を重ね合わすことで立体的な視覚表現を生み、
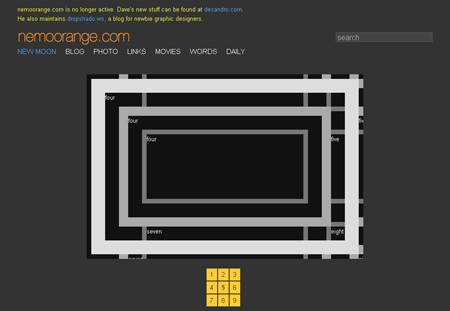
コントローラーによって枠を移動させ、3D動作的な見た目を実現しています。
あれこれ説明するより、下記の1~9までをクリックしてみてください。
これが何かに使えるかどうかは別として、
動きが滑らかで心地良い。
jQueryを使っての画面上での斜め移動としての参考にもなりそうです。
使用するファイルはjQuery+「easing.js」ライブラリだけ。
動作に必要なスクリプトを載せておくと、
————————————–
<script type=”text/javascript”>
$(document).ready(function(){
var shiftSpeed = 1500;
var bigSlideWidth = 400;
var bigSlideHeight = 400;
var smallSlideWidth = 300;
var smallSlideHeight = 300;
var tinySlideWidth = 200;
var tinySlideHeight = 200;
var columnCount = 3;
var rowCount = 3;
//$(“#enclosure”).css({backgroundColor: “#ddd”});
$(“ul#nav li a:eq(4)”).css({fontWeight: “bold”});
//$(“#big-panel”).css({backgroundColor: “#ddd”});
function shiftBoxes(boxN) {
var col = ( (boxN) % rowCount ) * -1;
var row = Math.floor( (boxN) / columnCount ) * -1;
$(“#big-panel”).stop().animate({ left: bigSlideWidth * col, top: bigSlideHeight * row }, shiftSpeed, “easeInOutCubic” );
$(“#small-panel”).stop().animate({ left: smallSlideWidth * col +50, top: smallSlideHeight * row +50 }, shiftSpeed, “easeInOutCubic” );
$(“#tiny-panel”).stop().animate({ left: tinySlideWidth * col +100, top: tinySlideHeight * row +100 }, shiftSpeed, “easeInOutCubic” );
}
$(“ul#nav li a”).click( function() {
navIndex = $(“ul#nav li a”).index(this);
shiftBoxes( navIndex );
});
});
</script>
————————————–
こんな感じです。
ご参考までに。。。